1. Route your domain to Cloudflare
Before diving into the steps, it’s essential to understand what Cloudflare does. Cloudflare provides a content delivery network (CDN), DDoS mitigation, Internet security services, and distributed domain name server services. By adding your domain to Cloudflare, you benefit from increased security, performance, and reliability.
Watch our short video guide or scroll past it to follow the written guide below.
Add your domain to Cloudflare with 7 easy steps
1. Logging into Cloudflare Dashboard
Access the Cloudflare dashboard by visiting Cloudflare’s login page. This dashboard is where you’ll manage all your Cloudflare settings. If you’re a new user, you’ll need to sign up first, providing an intuitive interface for both new and returning users.

2. Add Your Site to Cloudflare
Once logged in, click on the ‘Add site‘ button in the dashboard. Enter your domain name (like example.com). It’s important to use your apex domain and ensure it is a registered domain under a valid TLD (Top-Level Domain). Cloudflare supports recognized most TLDs such as .com, .net, .org, and many more. It will guide you through the setup process for your specific domain

3. Choose a Suitable Plan
Cloudflare presents a range of plans suited for diverse requirements. When you enter your domain, you will be guided to choose a plan. While Cloudflare has several feature-rich paid options, we recommend starting with the free plan.
This plan is a great way to familiarize yourself with Cloudflare’s basic features and assess how they meet your site’s needs before considering an upgrade. The free plan offers essential services and can be sufficient for many websites, especially those just beginning their journey with Cloudflare.

4. Verify and Adjust DNS Records
Cloudflare automatically scans and imports your DNS records, but it’s crucial to review them for accuracy. This step ensures that traffic to your website is correctly directed. Pay special attention to your Zone apex, Subdomain, and Email records. If any records are missing or inaccurately imported, you’ll need to add or adjust them manually.
This verification is crucial for maintaining your site’s accessibility and functionality

5. Change your nameservers
Pointing your domain to Cloudflare’s nameservers is a critical step in activation and must be complete for Cloudflare to optimize and protect your site. Go to your hosting provider or domain register and change your domains nameservers to the ones displayed on the screen in this step.
If you don’t know your registar, lookup your domain here at WHOIS

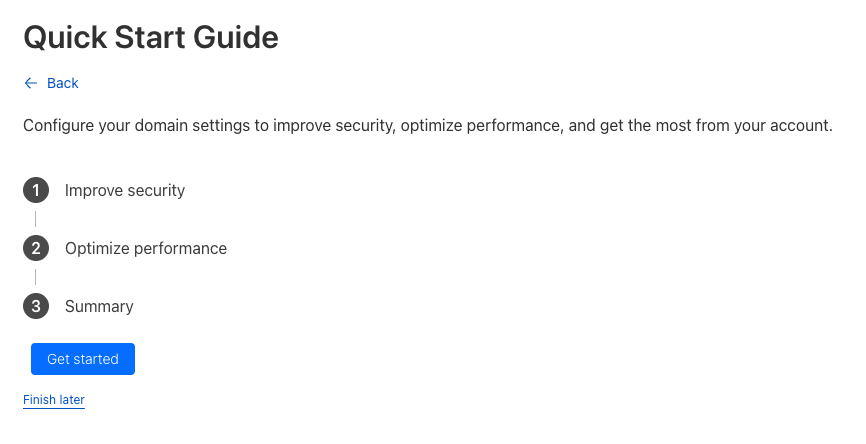
6. Configure domain settings in Cloudflare
Cloudflare’s Quick Start Guide assists in configuring your site for optimal security and performance. Through this guide, enable HTTPS connections, set up HTTPS rewrites, activate Auto Minify, and implement Brotli compression.
These settings collectively enhance the security and speed of your website, providing a better experience for your visitors.
7. Activate Cloudflare’s Reverse Proxy
Activating Cloudflare’s reverse proxy is essential not only for routing your website’s traffic through Cloudflare’s network but also for enabling the functionalities of Zaraz. In your DNS settings, make sure the cloud icon next to your DNS records is orange, signifying that Cloudflare’s proxy is active. This step is crucial as it not only filters and optimizes your web traffic, enhancing your site’s security and performance, but it’s also a necessary feature for Zaraz to work effectively on your site.
HORRAY! You’re ready for the next step
With this setup complete and your domain sucessfully routed to Cloudflare, you are now ready to move on to the next step of configuring Beetle Tracking:
Additional Information
What is a TLD: Understanding TLDs helps in choosing the right domain. A TLD is the last segment of a domain name, like .com or .net. It’s a critical part of the DNS system, helping categorize and organize the internet.
Cloudflare Registrar: Cloudflare also offers domain registration services. Unlike typical registrars, Cloudflare Registrar provides domains at cost, without additional markups or renewal fees. This service aligns with Cloudflare’s mission to help build a better internet by making domain registration more accessible and secure.
Conclusion
By following these steps, you can successfully add your domain to Cloudflare and enable reverse proxy, leveraging Cloudflare’s robust network for enhanced security and performance. This guide aims to provide a detailed, step-by-step approach, making the process accessible even for those new to web management and Cloudflare’s services.